The Brady Bunch Kids

The Brady Bunch Kids
Showing posts with label Garden. Show all posts

Wednesday, May 1, 2013

Pineapple? Did someone say pineapple?

I decided I wasn't growing enough in containers already, so I thought I'd try to see if I could grow a pineapple tree from the top of a pineapple we recently purchased.  I am following the instructions I found on wikiHow, where they provide 9 steps (which I have listed below). Today I did step 4.

Step 1: Obtain a pineapple with firm, green leaves (not yellow or brown). The fruit skin should be golden brown. Make sure it's not overripe by gently tugging on the leaves. If it pops right off, the pineapple is too ripe for this purpose. Make sure that there are no scale insects (they look like small grayish spots) at the base of the leaves

Step 2: Cut off the crown and strip some of the lower leaves so that the stem is exposed. Trim any fruit flesh without damaging the stem (that flesh could rot your plant later).

Step 3: Turn it upside down and let it dry for about a week so that the cut end and the leaf scars can harden.


Step 4: Put the crown in a glass of water until the roots start growing out. Change the water every few days. Keep it away from temperature extremes.
05/01/2013
Step 5: Plant the crown in an 6-inch (15.2 cm) pot using light garden soil with a 30% blend of organic matter. Press the soil firmly around the base of the crown without getting any soil on the leaves.

Step 6: Keep the plant moist (but not wet) in a sunny, warm and humid place where the night temperatures won't drop below 65ºF (18ºC). If conditions are dry, mist the plant regularly.

Step 7: Water the soil lightly once a week.

Step 8:Fertilize the plant with half-strength fertilizer twice a month during the summer.


Step 9: Look for flowers. It can take several years, but eventually a red cone should appear from the center of the leaves followed by blue flowers and eventually a fruit. It takes about six months for the fruit to fully develop. The pineapple will grow from the flower, above ground, in the center of the plant.

Thursday, March 21, 2013

Up cycle two month update

Two months ago Bre and I planted tomatoes, bell peppers, and jalapenos using 2 liters and toilet paper rolls. This week they are due to be transplanted outside, but with the preparation of going on vacation, storms passing through Tuesday, Saturday, Sunday, and the following Monday, outside temperatures (on Tuesday it was 80 and today, Thursday as I write this it is 40), and the fact I forgot to put a reminder on my calendar...which resulted in not enough pots and no soil, our transplant may have to wait until we return, so two more weeks of indoor living for these babies!

These are our bell peppers and jalapenos, as you might be able to tell, our starters aren't very big, I've determined two things with attempting this: 1) I should have 'halved' the rolls and 2) the container they are sitting in is too tall.


Our tomato plants did amazing in our 2 liters and overall I have to say I prefer this method of upcycle gardening versus the toilet paper roll starters. These 'almost' self watering contraptions worked great! The main lesson learned with this project was that my plan for 3 plants per 2 liter may have been too much, especially now that they are so big. The plants appear to fight for water and they are beginning to choke each other out. Also many of my plants roots are so close to the top and now with their height, they are having difficulty standing up. Unfortunately, they are going to have to 'live' this way for another week or so until we return from vacation and I can get them transplanted and staked.

I have been preparing all of these plants to transition to outside by placing them outside for a few hours each day to get acclimated. Here is hoping all them survive while we are gone and survive their transplants.


Monday, February 25, 2013

Up-cycle gardening - 1 month update

It's been one month since we planted out tomatoes, bell peppers, and jalapenos in our up cycle garden. For a reminder of how we created this part of our up-cycle garden (we are hoping to add more as the weather permits), click here.

Just a reminder of what we did, (everything was planted from seed) we took four 2-liter bottles and planted three variety of tomatoes in hopes to get three plants per 2-liter. One month after planting we have:
  • Roma's - 5 plants (sadly, one didn't sprout!)
  • Sweet 100 - 3 plants
  • Cherry - 4 plants (surprise on the 4th - and hope it survives, it's the runt of the pot)
I have to say I am loving this way of planting. Overall I have only added water once to the 'pots', at that time it wasn't really needed, however, we had made boiled eggs and I wanted to add some of the nutrients in the water to the plants. Depending on what site  you view, some say water from the  top while others recommend lifting the top portion and adding your water to the bottom section, I prefer to water from the top, if the plant/ soil doesn't need it, it will drain into the bottom section just fine. I also prefer misting versus pouring, especially while the plants are still fragile (no need killing them all because of water).


Also one month ago, we planted 12 bell peppers and 12 jalapenos, 1 seed per toilet paper roll (or so I thought). It is a little hard to see in this picture, but 3 'rolls' of bell peppers didn't sprout and 1 jalapeno 'roll' didn't sprout. However we have:
  • Bell Peppers - 13 plants
  • Jalapenos - 14 plants
I have to admit, I am not sure I will go this route again. We had several episodes of what appeared to be mold (although it remained white) on several rolls and because my container is so much taller than my rolls, I have to remember to alter, rotate, and adjust my container every so often to allow all the plants to get adequate sun. For watering, the only way to go is misting The benefits of this way of planting, you can see if any of your 'rolls' need water just by looking at the outer side of the roll.
We can't wait for another month to see how much bigger our plants have gotten, and we will begin transitioning all of these plants to outdoors.

Tuesday, February 12, 2013

Spring is right around the corner....RIGHT???

I have to admit I am usually on top of what is going on with the weather, particularly because I try to watch the news at least once during the day and second I like to compare the weekly weather along with my planting schedule. In the past this has allowed me to pull plants inside when we are expecting frost or long periods of rain.

January 31st through February 2nd we had frost warnings and since I was on top of the weather reports, and couldn't find my bubble wrap to protect my potted plants, I pulled them inside. There is one large pot that didn't make it into the house, my broccoli, but sadly a previous cold night slightly above freezing took their lives (sniff, sniff).

Lettuce and onions (just starting to sprout)
Last Thursday (2/7/13), we were only expecting 2 inches and I honestly felt that my plants could handle the rainfall, especially since I had just drilled a few more drainage holes in my larger pots, so I left them outside. This probably was a huge mistake as those 2 inches turned out into 4.5 inches...oopsies. My pots actually did pretty well, (after it stopped raining) and even though they did fill up with water, they drained quickly.


Sadly, I guess I slacked off quite a bit on watching the weather because on Sunday (2/10/13) as I was watching the Grammys with Bre, on the bottom of the screen scrolls a tornado warning. WHAT? where did this come from, our weather had been great. You know, nice and sunny, not too hot, no humidity...the type of weather that makes you want to go out in your backyard with little to nothing on to soak up all those lovely rays.

Soon, I started to hear thunder and see little flashes of lightning. I logged on to the computer to check the weather...yea huge storm with severe storm warnings. By then it was too late...Eric wouldn't let me step foot outside to try and gather all my potted plants. When he wasn't looking I was snapping pictures and trying to take video of the storm, which I don't know why I attempt to do this when it's dark outside, because most of them don't turn out and the videos never come out as cool as the actual experience. The next day after I got Bre on the bus, I took a few pictures.

Majority of our backyard is underwater, closer to the house is 2-4 inches deep

want to go for a swim?

I don't think my onion sprouts are going to survive

Hard to tell in pic, but there is about 2 inches of rain over patio, planters are filled to top, and majority of yard is under water

Our mailbox didn't survive the winds

Sunday, February 3, 2013

Baby it's cold outside

I will be the first to admit that is the lamest title for this post but my creativity must be taking a nap right now!

On Wednesday, January 30th it was 76 degrees when Breanna got on the bus at 7am, the next day (at the same time) it was almost 40 degrees colder. Luckily out temps didn't drop below freezing until Saturday night.

The last time we had a bout of freezing temps we also had a ton of rain, so I lost a good amount of my lettuce and all of my broccoli, so when I heard we were going to have a few days of freezing temps after severe storms passing through, I decided I couldn't take the risk of loosing any more crops. Since all the areas of our yard that are not grass are covered in rocks, we are gardening in containers this year. At first we were just going to try to shield the crops from the frost, but sine my onions are just starting to sprout I didn't want to risk loosing the entire crop, if we didn't protect them correctly or enough, we decided to move them inside!

2 large containers of lettuce, 1 large container of red and white onions, 1 small container of green onions


herbs, celery, jalapeno, and bell peppers


Almost the end of week 2 after planting, 12 tomato starts
This morning it appeared our Florida room may have either gotten a bit too cold OR had too much heat, because even though all the containers had enough water, most of the plants weren't looking too well. Here is hoping for warmer night time weather so, with the exception of the tomato starts, they can all go back outside for some fresh air and direct sunshine! Crossing our fingers that everything survives!

Monday, January 21, 2013

Gardening 'upcycle' projects

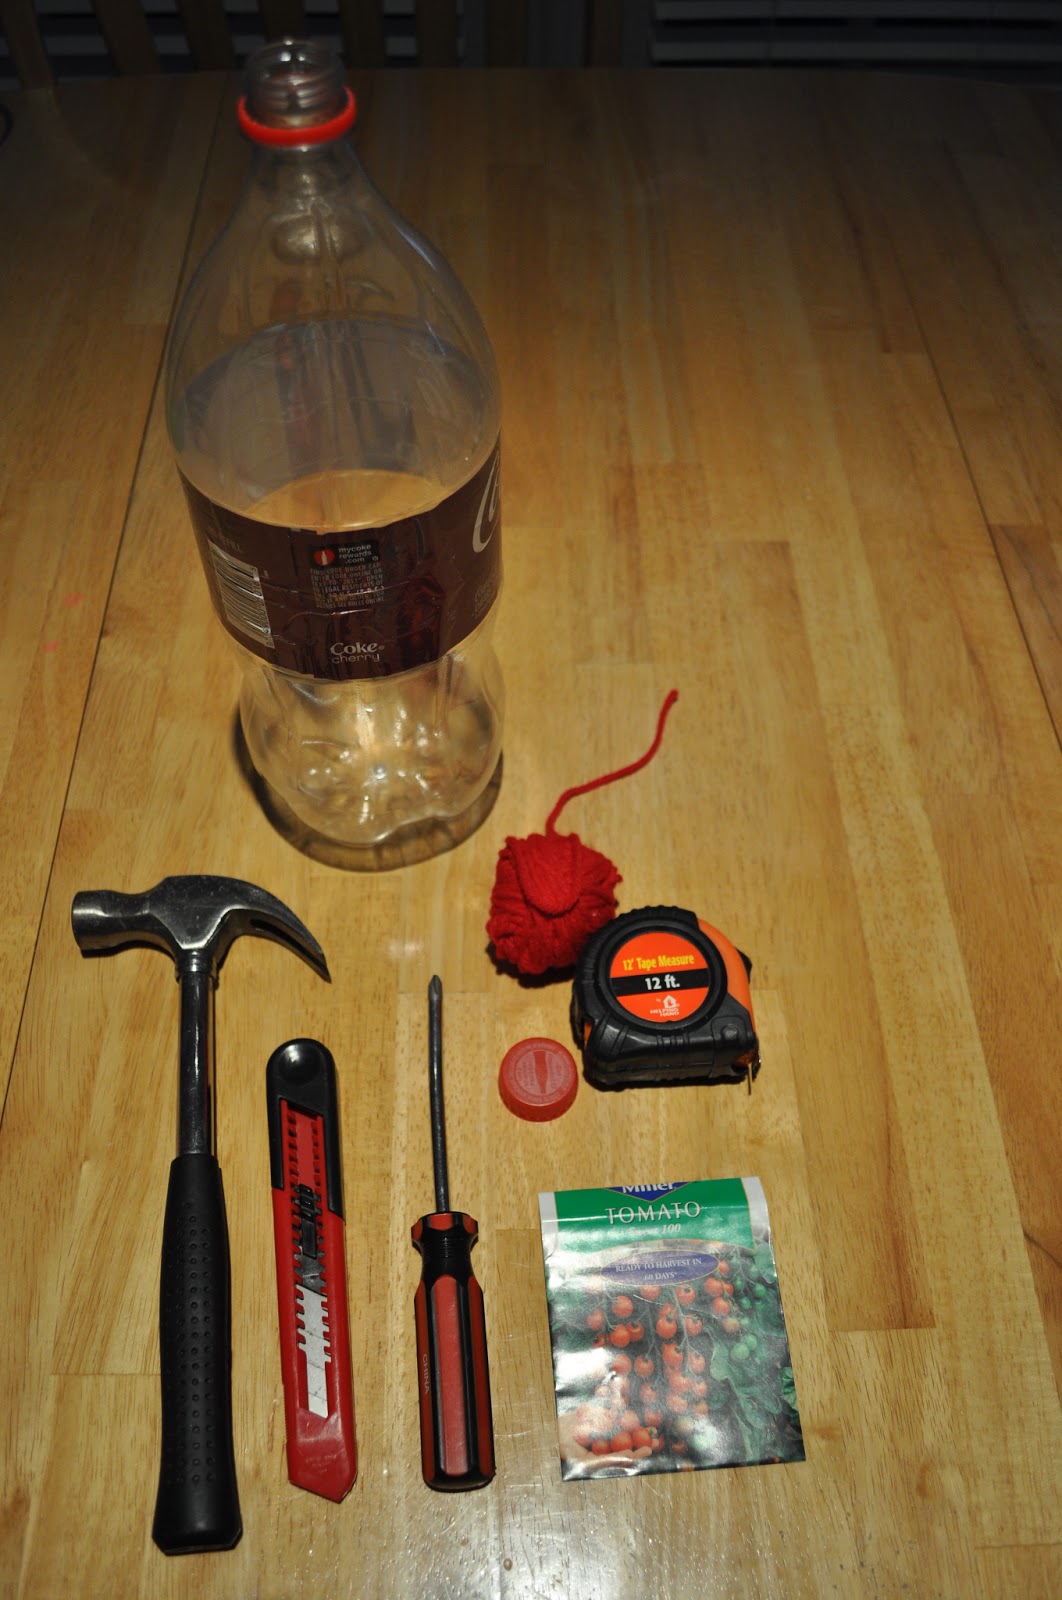
Since Bre is out of school today and there is no way she is going to let me do my run, we are going to work on some gardening. This week (for our area) is the week to start our tomatoes and peppers indoors and since I have been collecting 2-liter bottles, toilet paper, and paper towel rolls, this is what we are hoping to accomplish.

Self-Watering Seed Starter Pots

Click here for the directions to make a 2-liter self watering seed starter pot.
 
Click here for the directions for toilet paper roll seed starter pots (we did not cut them in half)

Our recyclable loot

This weeks planting per sproutrobot.com

Supplies needed for 2-liter self watering pot

Starting with four 2-liters, with the hopes of starting 12 plants

We are hoping to get 3 plants per 2-litter
Supplies needed for toilet paper starter pots

How we folded the bottom of our rolls to help keep the soil in

Dark rolls are jalapeno, light rolls are bell peppers. Each roll will be 1 plant


Tuesday, October 16, 2012

Herbs

Bre and I had tons of errands to run today, which some of them required us to wait for long periods of time. We started our morning out at the local Social Security office to change over her SSI benefits from the Washington office to the Dothan office, then a quick trip to Target to purchase Madagascar 3 and of course to grab a coffee at the Starbucks (the only one in Dothan) and an ICEE. Next we met Eric across the street at Arby's for lunch, and then Bre and I headed to the DMV to get her an ID card and so I could update my address. We discovered that the DMV is closed for lunch, so during our wait we headed to Lowe's to look at the 'flowers'. This entails Bre walking up and down any isle that has plants. She doesn't really look, just paces up and down each isle at an extremely fast pace. We do this often, so you would think that all the sales associates would recognize us by now, but they ask us every time if they can help us find anything.

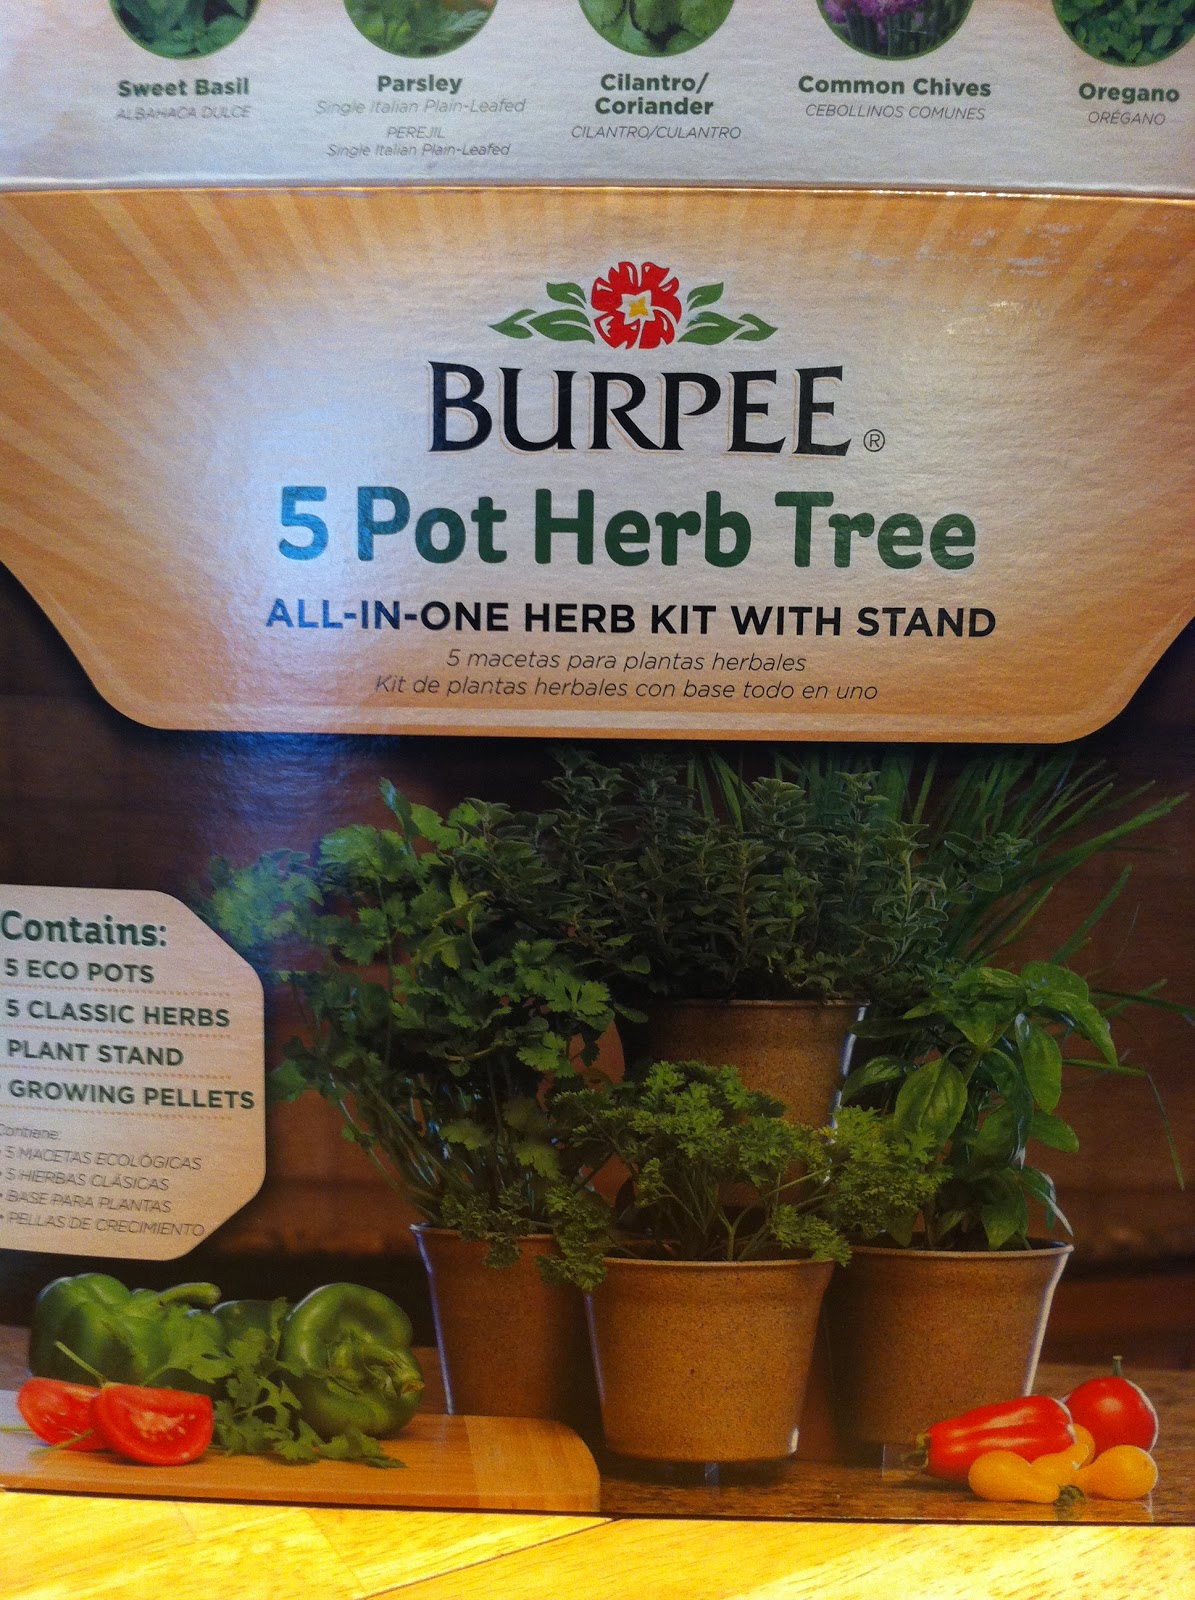
Today I spoke with Randy (the guy who usually attempts to help us at each visit) about what I can and can't plant or keep outside. You may recall my earlier post about the items I should be planting outside for my fall garden, if not click here to view. I forgot mom gave me two matching planters until a few days ago and decided they would look great either on the side of my front door or on the back patio and of course I would rather have items in them that produce food we can eat and/ or cook with. So what would be better than citrus trees. Lowe's had a variety of tree options that would work great in these planters; lemon, lime, avocado, satsuma, navel orange, blood orange, mandarin orange, or tangerine. So many choices, I almost wish I had more planters!!! Since I wasn't able to narrow down my selection to just two trees, Breanna and I decided to buy some herbs, which she planted after we finished our final errands of getting her a state ID card, running the car through the car wash, and doing a little grocery shopping.


B decided she was going to do this by herself

Bre adding the pellets
Each pot got 2 pellets


Adding the water

Magic!!!


Even though all the pellets were stacked the same, they all expanded differently

We added some labels

Time to add the seeds

And now we wait

Monday, October 15, 2012

She's at it again

Yep, that she is me and I am attempting to grow things in my kitchen.

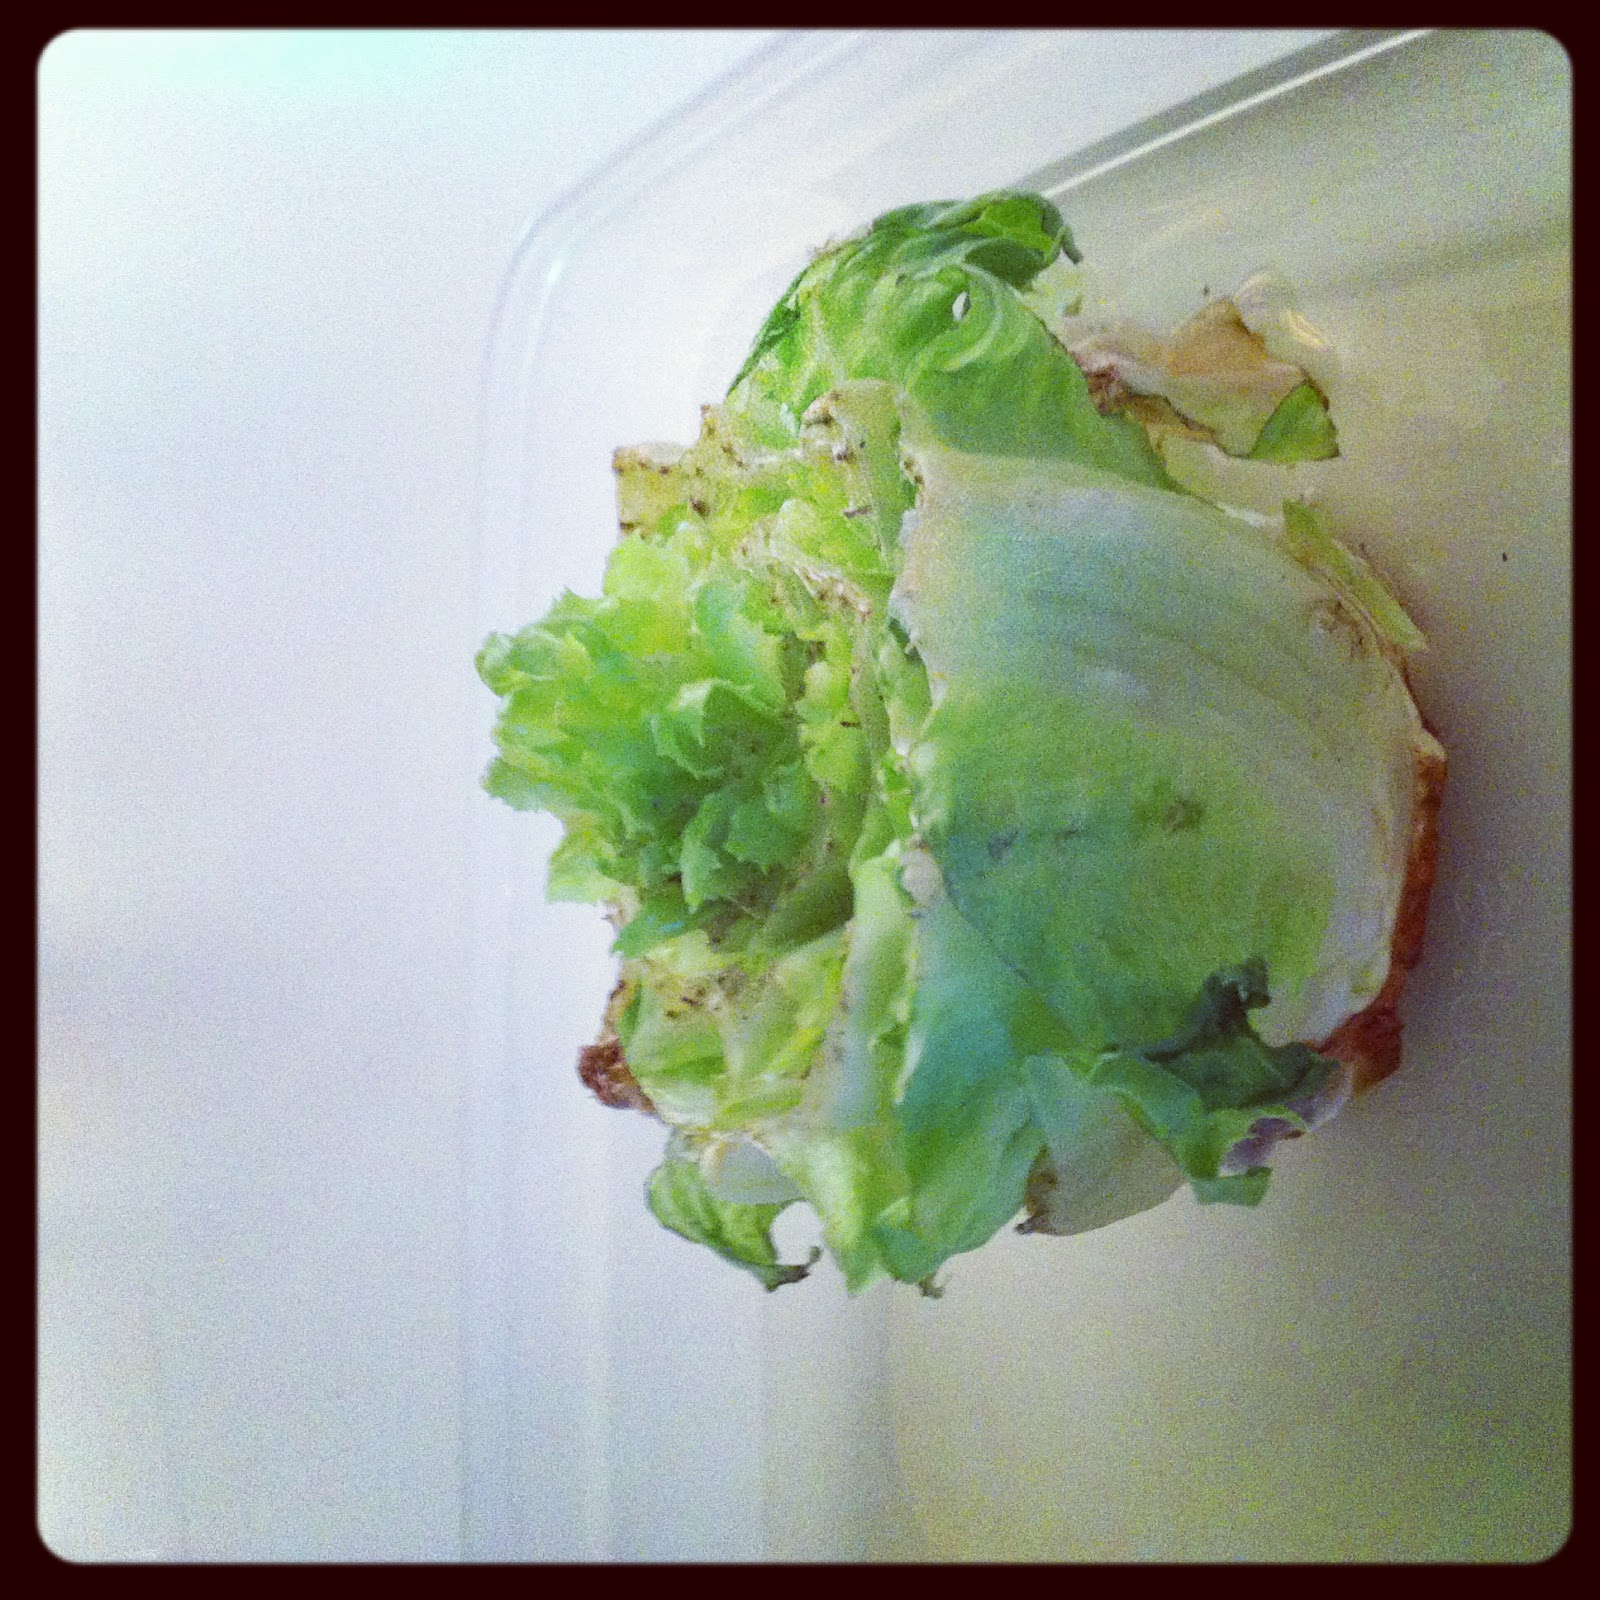
The downfall about my new kitchen is that it doesn't have direct access to outside light. My LAME kitchen sits in between my dinning room and the eat in kitchen area, which is on the other side of my Florida room. This kitchen is honestly the darkest kitchen I have ever had! But that didn't stop me on trying to see what I could 're' grow on my kitchen counter in a Tupperware and water.

Part of my decision to do this was the fact that I should have already planted over a dozen items in the garden...oh wait, I don't have a defined area for a garden, just a ton of grass and a good size border in the back yard of rock beds.


 I know that celery can be regrown, but while I was cutting up my last head of romaine lettuce, I thought to myself (yea I do that a lot) I wonder if this would regrow? So chop of the leaves, grab a tupperware, put a bit of water in the bottom and set the bottom of the lettuce in the water and wait!

I didn't have to wait too long, less than 2 days to see that it was starting to grow! Yay me!!!


Tomorrow, I am going to the store to figure out what else I can try to regrow in the kitchen!

Thursday, October 4, 2012

Time to plant a garden???

While everyone is posting and talking about fall and winter, I am attempting to finish unpacking and organizing the house, and figure out where and how I am going to plant a garden. Yes you read that right, a garden...in October!

I use Sprout Robot to help me plan my garden. This site helps by letting you know what you should be planting in and/ or out doors each week. This week, based on my zip code, I should be planting:

  • Plant head lettuce
  • Plant kohlrabi
  • Plant leaf lettuce
  • Plant chard
  • Plant spinach
  • Plant radishes
  • Plant chinese cabbage
  • Plant black-eyed peas
  • Plant daikon radish
  • Plant rutabega
  • Plant endive
  • Plant cauliflower
  • Plant kale
  • Plant carrots
  • Plant southern peas
  • Plant parsnips
  • Plant mustard greens
  • Plant snap peas
  • Plant snow peas
  • Plant peas
  • Transplant broccoli outdoors
  • Plant turnips
  • Plant bok choy
  • Transplant cabbage outdoors
  • Plant brussels sprouts
  • Plant beets 
  • Plant asian greens  
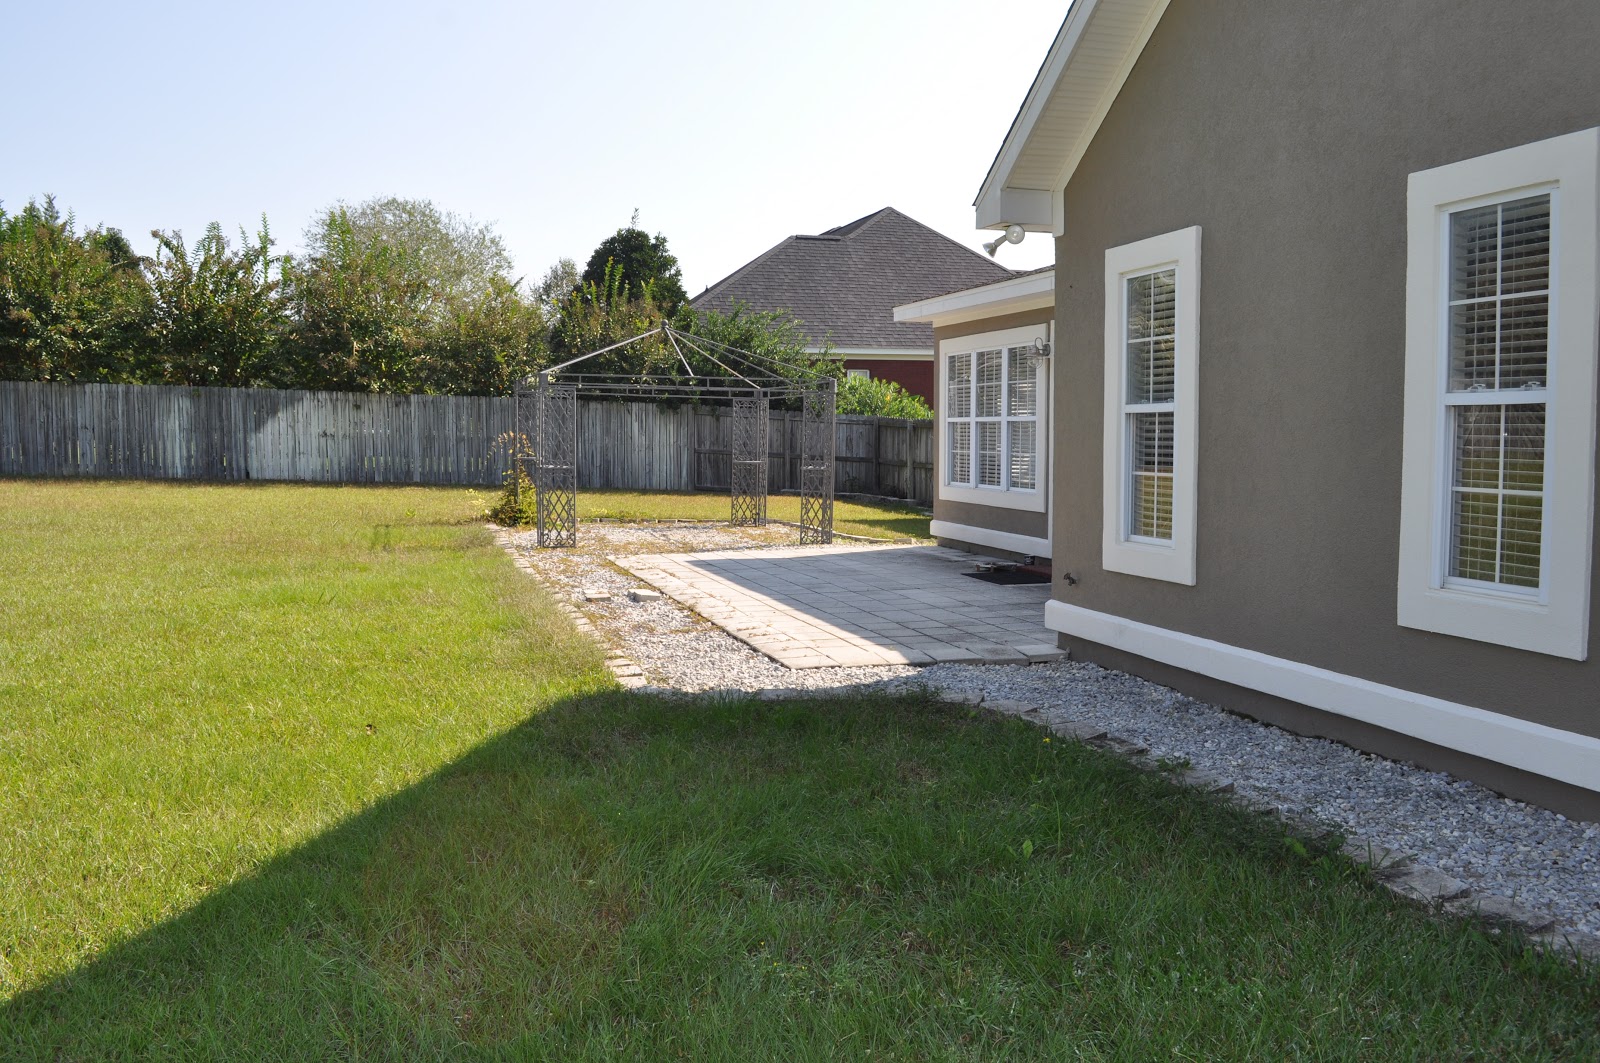
Here is my huge dilemma, while we have a good amount of property, it is mostly grass and a RENTAL. We do have 'beds' surrounding the house in the backyard, however they are filled with rock, which I could easily move into a storage bin.

We only plan on being here till next summer, so I don't plan on doing a huge garden, but would love to have a lot of the basic veggies and herbs that we use often, but we aren't sure how we are going to plant anything.


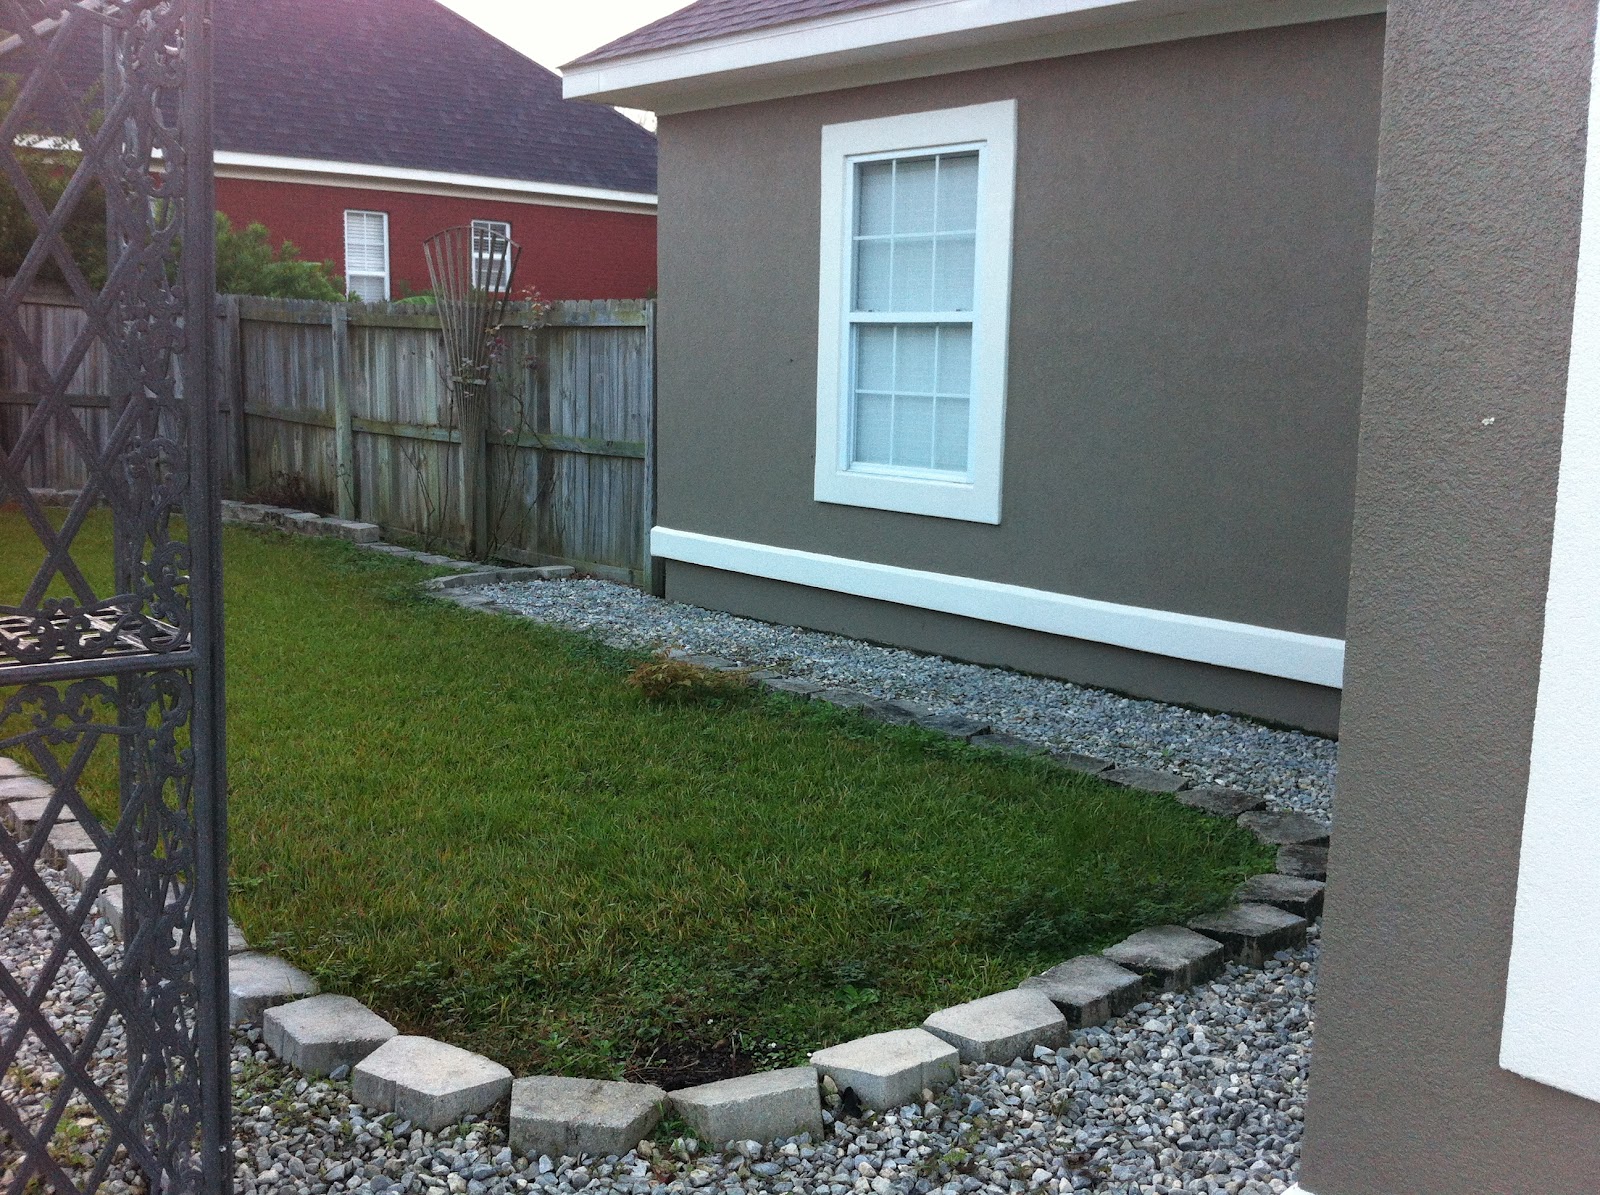
The only bed without rock